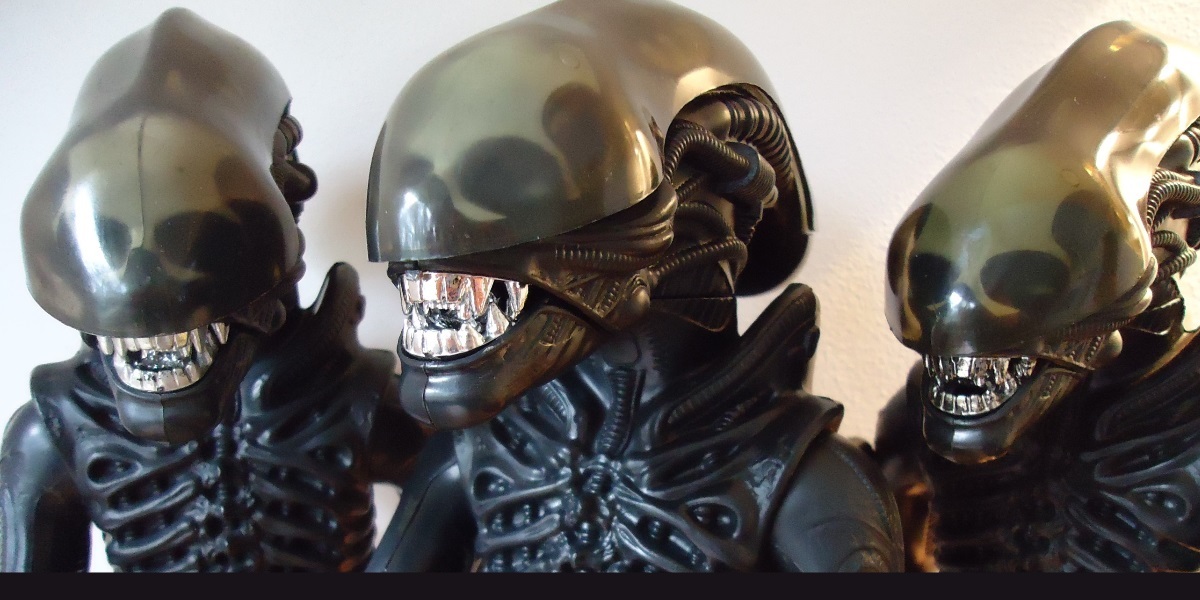
 Here we are on the last stages of Mr. FORD’s rehabilitation. All that remains now is to reattach and align the quad dorsal appendages that sit on the toy’s back. Normally these four “weird tuby things” are attached to a plate inside the torso. Unfortunately, they can easily break away from the plate if the toy is mishandled. As Mr. FORD was originally a children’s toy, such rough treatment is no doubt part of his long and unknown history.
 Three of these dorsal appendages have broken loose from the internal plate with only one remaining in place. That remaining appendage is still secure and will be fine. I’m not going to fix what isn’t broken. Nonetheless, let’s fix and return those other three pieces back onto the plate. The goal will be to have them seated on the plate, not float about independently and not rotate around like floppy fish tails. We can do this.
This is an easy repair and is fundamentally straight forward. We’ll need some paperclips. Paperclips are one of my favourite materials to use for repairing these old toys. They are easy to acquire, easy to manipulate and very versatile. So, let’s use them. I drilled a pair of holes into the base of the broken appendages. The holes are a little smaller in diameter than the paperclips. A tight fit is highly desirable. The paperclips were then cut giving me three U-pins; and we’ll use these U-pins to perform the serious assembly duties. This is gonna work. You know it.
I also drilled a pair of holes into each location where these appendages should be attached to the plate and then pushed the U-pins through to the reverse side of the plate and inserted them into the appendages, securing them in place. I have found for best results, holes drilled into the appendages should be a little off center so they may align properly on the torso for them to be straight and parallel.

The U-pins neatly loop over the thickening of the plate that is intended to provide strength and support for the entire arrangement. This bridging aids in securing the other pieces in place as intended.
I could glue the pins in place, but once the figure is re-assembled, there’s no room for internal movement for the pins to come free and the appendages are pressed down into place by the closed torso halves. This is a good and reliable repair that uses nothing more complicated than a few holes drilled in the right place and some cut down paperclips to hold it all together.
One small comment, here. Canadian samples of the toy employ a different set of quad appendages to those present on US samples. No external evidence will suggest this is the case but internally, the plate is a completely different design. A lot of small variations are present but the most prominent and interesting feature is the shallow V shape at the top of the plate. US versions of the plate have an inverted shape, with the apex cut through with a circular punched hole. The hole is used to accommodate an internal post within the torso. The difference suggests that while the Canadian version was made in parallel with the US toy; it also serves as evidence Canadian versions were made with what appears to be a revision update at a later date.
This final odd shaped body piece is now complete and no more repairs are required on this old toy. All that needs to be done is for its final assembly. Mr. FORD has come a long way, of this I am sure. Now we are at the end of his rehabilitation and just one last page needs to be written to see how he has turned out.
Part 1: Recovery.
Part 2: Dismantle & Clean.
Part 3: Working on the Head.
Part 4: Attaching the Arm.
Part 5: Attaching the Tail.
Part 6: Replacing a Leg.
Part 7: Reattaching the Dorsal Quads.
Part 8: Final Assembly.

