Mr. Tendril only has one arm and we are now going to reattach it to the figure.
Unfortunately, it suffers from a couple of issues. It’s loose and hangs by the figure’s side, which is a common problem these old Aliens have. We can definitely fix that and will do so here, in Part 8. He has another problem present, though. The ball joint sinks into his shoulders giving him a very undesirable presentation. This problem will need to be addressed, too, and this issue will be documented in Part 9.
To address both of Mr. Tendril’s problems, we need attach his right arm first. To do so, we will need the following materials: A short length of 3mm diameter bungee cord, a wire coat hanger and a paper clip. Wire coat hangers and paper clips should be easy to come by and the bungee cord can be purchased from any good hardware retailer. It’s cheap (about $3/meter) but a length of about 6 inches is ample for our purposes. Any additional length is good to have on hand in the event this procedure needs to be repeated, should the first attempt be unsatisfactory.

Moving right along then, the first thing to be done is cut a length of wire from the coat hanger. A pair of pliers is needed for this task. Extracting a nice long piece is required. The wire is a good thickness to be strong enough to hold the figure’s arm in place once it has been manipulated into the right shape. Let’s do that next.

Now, this piece of wire material needs to be bent it into shape and trimmed to the right size – and it’s easiest to do it in that order. Shape first, then trim. When ready, this piece of wire will be inserted into the figure’s arm.
I’ve done this a lot over the years so I made a purpose built winding tool specifically for making these anchors. It’s a simple tool, made from a length of wood cut from an old, wrecked desk. It’s basically just a piece of wood, a little over a foot long with a pair of nails hammered into one end. One nail has had it’s head removed.
It works by placing a length of cut coat hanger wire between each nail and manually winding the wire around the headless nail. It’s quick, easy and makes exactly what I need. You don’t need to make one of these winding tools yourself as a pair of pliers or a vice will do the same thing; and you probably won’t want to wind more than 2 anchors (1 for each) for these figure’s arms – but making one of this simple tools is an option available to you should you lack a vice – or need to make a lot of these improvised anchors like I do.


Here’s a couple pieces of wire previously bent into shape by using this tool. One of which has been trimmed to size and is now ready to use. Let’s use that one.

We are now ready to assemble our newly improvised arm anchor. Our paper clip will need to be opened up to its full length to become a useful piece of wire. We also need to thread the earlier prepared piece of coat hanger material onto the piece of bungee cord.
To finish the assembly, the cord will need to be looped into a 1 inch diameter circle and secured into this shape by with the paper clip wire. So, wind the paperclip around where the cord meets itself and tighten the former paperclip in place with a pair of pliers. Make sure it’s not loose – It’s preferable to severely crush the bungee cord with the tightening of the paperclip to ensure it’s not loose. Finally, trim any excess lengths of wire and cord to give this assembly a neat finish. Well, as neat as it gets, anyway.


We now have a new arm anchor that will provide an excellent and secure attachment of the arm back onto the figure! Let’s insert that looped hanger wire into the figure’s arm. It fits easily into the hole provided and will slip passed the retained old anchor with ease.
The arm is now ready.
I could have cut the old anchor free to make this repair easier as it takes up space but I respect the fact Mr. Tendril still has his original, unbroken neoprene arm anchor in situ. So, I am going to leave it where it belongs, unaltered. It’s not going to be used in reattaching the arm to the figure; but I want to keep it present on the arm, for its sake of completeness. For all intents and purposes, the old rubber anchor has done its fair share of constant work during the past 40 years of service and it deserves its retirement. It can stay there.
To assemble the arm onto the figure, I’m just going to loop the bungee cord around the mid post present on the front torso half which will leave the old anchor floating loose inside the torso without a care in the world. It won’t rattle or otherwise interfere with the functionality of the arm on the figure plus, I can still make the claim I’ve saved the original anchor from snapping and this arm remains 100% complete.
It’s a simple task of completing the figure’s assembly by adding the rear torso half to it.

Now is a good opportunity to conduct a test assembly on the figure. Both legs are already attached from our previous repairs and we are beginning to see the finished form of Mr. Tendril take place with the addition of the right arm now in place.
The test assembly looks good and Mr. Tendril is progressing very well so far and he’s now capable of holding a pose with that arm. Unfortunately, his other earlier raised issue has become apparent. The tension on the arm forces the limb to sink into the torso shoulder at the ball joint. It’s an ugly finish and will need to be addressed. The procedure for rectifying this problem will be the focus of Part 9. Once again, it’s a simple fix and I’ll be documenting the entire process to get Mr. Tendril looking as good as he can!
Part 9 will be posted sometime soon.


Occasionally, I do get asked about fixing arms on these old figures. So, here’s a few additional notes regarding this repair:
- The method used here is adequate for returning a single arm to the figure. If both arms were to be attached, I would need to add a 2nd wire coat hanger piece to the existing loop as one for each arm would be required. I’d also have to make sure the loop itself is 1.5 inch diameter to reach across both arms. No attachment to the mid post would be necessary.
- If you don’t want to make your own pre-made arm anchors, kits are available online. Jase Marshall has a good, ready to use kit for restringing arms back onto the Kenner ALIEN action figure. These kits are useful for reattaching 2 arms.

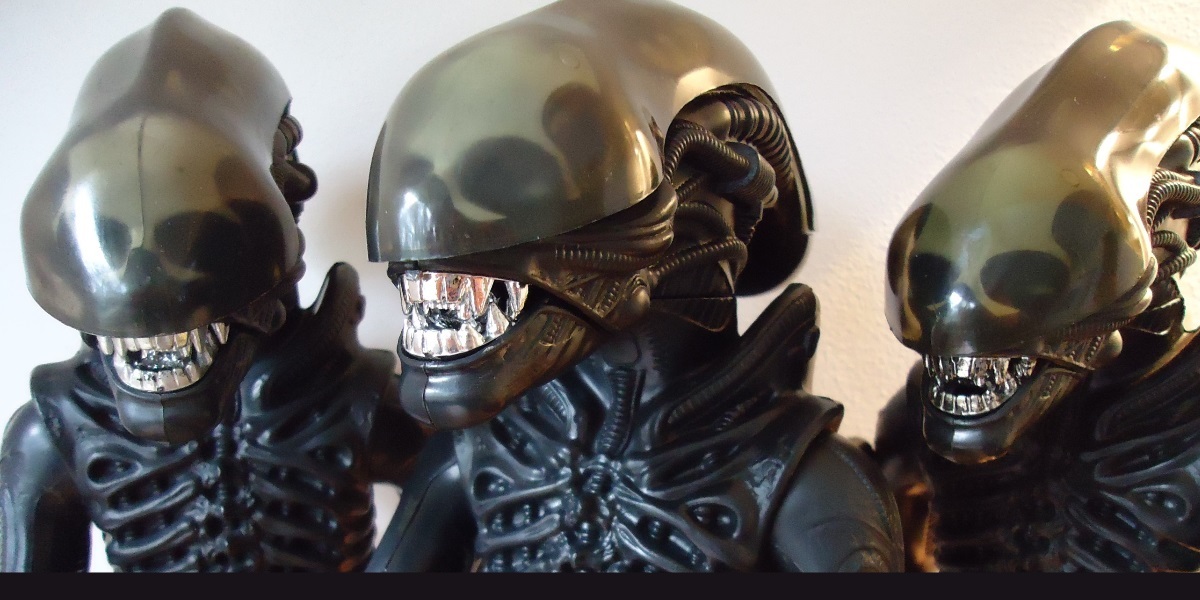
- Using bungee cord to fix arms back to the figure is a proven way of achieving this goal. There are other ways to achieving comparably excellent results. These figures all use an alternate method of prepared neoprene strips instead of bungee cord. Each holds a pose perfectly. And yes… These restorations are all my work.

- Finally, don’t just take my word for it that bungee cords are a terrific method for repairing the arms on these old toys. Both Gentle Giant and Super7 used bungee cords in the construction of their Kenner tribute ALIEN figures in recent years.Which means, if the method is good enough for commercial use, then it’s good enough for the rest of us, too. 😛
- (Below Left) Bungee cord used to assemble the arms on Gentle Giant’s 24 inch tall ALIEN tribute figure and (Below Right) a similar bungee cord assembly arrangement is used by Super7’s on their faux 1986 ‘prototype’.


-Windebieste.
Part 1: Introduction.
Part 2: Assessment and Evaluation(1 of 2).
Part 3: Assessment and Evaluation (2 of 2).
Part 4: Disassembly and Cleaning.
Part 5: Loose Hip Joint Repair.
Part 6: Broken/Destroyed Hip Joint Repair (1 of 2).
Part 7: Broken/Destroyed Hip Joint Repair (2 of 2).
Part 8: Severed Arm Repair.
Part 9: Damaged Shoulder Repair.
Part 10: Improvised Replacement Arm.
Part 11: Final Assembly.