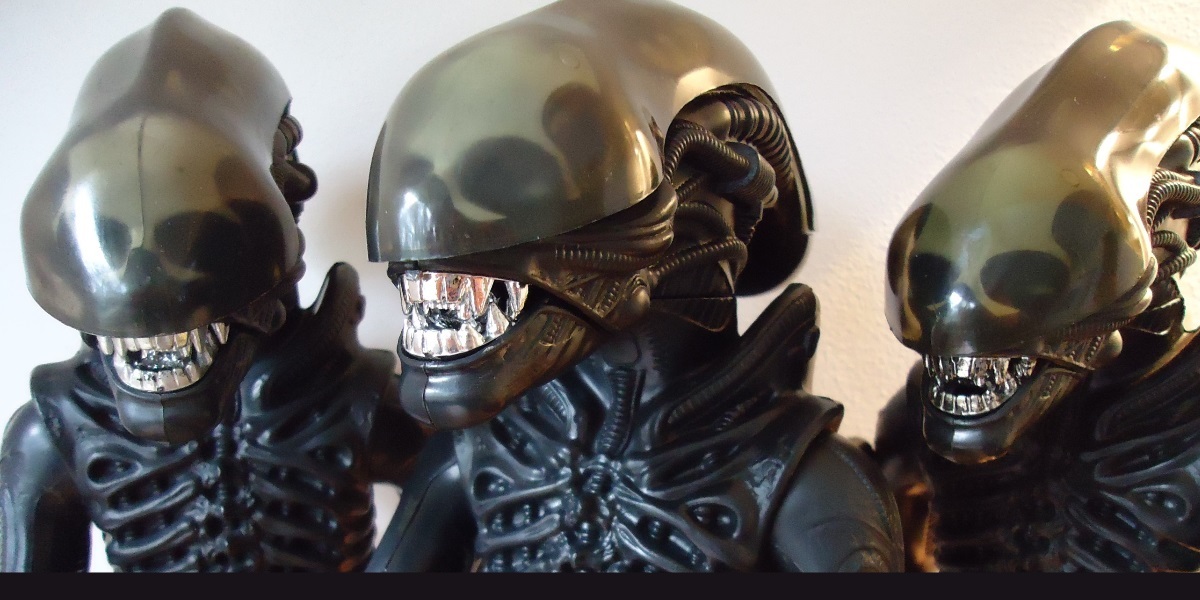
 Now that Mr. Tendril’s right arm has been re-attached, it’s necessary to fine tune it. As is visible here, the limb isn’t sitting properly on the shoulder and it sinks into the torso.

Normally, the arm would be supported by a set of 4 small pins located inside the shoulder but this collapsing condition is common to figures where these pins are broken and this support is lacking. For clarity sake, below we can see inside Mr. Tendril’s left shoulder the upper pair of pins are missing while the lower pair are still present. Even in this state with only 2 pins present, the arm will be supported. As we can see, all the pins have been broken inside the right shoulder resulting in the limb not being supported, hence the problem we must now solve.


Fortunately, it can be addressed without the need to repair the pins themselves and the method I will employ here will bypass them entirely without requiring any changes or modifications to the figure itself. All that is needed is the simple addition of a custom made component to resolve this issue.
To our rescue comes the ever handy mangy old DVD case. As we have already seen earlier in Mr. Tendril’s BIG Make Over, old DVD cases are very versatile for repairs and overcoming problems on the old Kenner ALIEN. One has already proven to be invaluable. Once again, the ever useful DVD case shall come to our aid.
For this repair, though, I will be using a black DVD case. The clear one I used earlier was useful for properly locating and centering the correct point of attachment on the repaired leg; but on the shoulder, so close to the surface of the figure, there’s always the possibility such an improvised component will be visible through the arm socket when assembled. So, we use a black one to help conceal its presence and reduce its chances of being spotted.

Mutilating DVD cases to fix old Alien action figures is a fun activity! …and it works very well. With this in mind, I need to cut and craft a mounting plate that will fit inside the torso so the arm has a supporting bracket to sit upon.
Having done just that, let’s take a look at the new mounting plate that’s been cut specifically for this purpose.

This is basically a rectangle with a pair of corners removed so it will fit inside the shoulder. The circular penetration will support the arm’s ball joint.
It’s now a simple task to thread the new arm anchor (along with the abandoned original anchor) through the hole and slot the mounting plate inside the front torso half. It will sit against the upper and lower internal posts inside the right side of the torso. Tension applied by the improvised anchor attached to the mid post will hold it in place. When assembled, the mounting plate will prevent the arm from collapsing into the torso.
Simple. Effective. Perfect.

Note the original neoprene anchor is not attached to the mid post, just the new bungee cord. Now the arm has been fixed and the problem of the arm sinking into its socket has been overcome, it’s time for a test assembly. Let’s do this!
The new improvised mounting plate not only performs its task of holding the arm in place but in this case, it’s undetectable, even under close scrutiny. The arm is also secure enough to pose as I see fit. Considering the condition this arm was in before we commenced work on this figure, the outcome is superb.


So far, we’ve taken this dirty, degraded customised ALIEN action figure that could barely stand up and addressed serious issues with it. He’s been cleaned, the legs are now firm making him stand confidently and the previously loose arm that was sinking into the shoulder has been fixed. In terms of presentation, Mr. Tendril is taking shape very well. I have practiced each of these repairs multiple times on many Kenner Aliens so I am happy to see the expectant results emerge as they have. From here, however, we move into new territory and I’ll be conducting work on the figure I’ve previously not done before. As this part of continuing the theme of his extant customisation, this is no surprise.
To this end, I want Mr. Tendril to have a left arm attached. I’m not going to use an original Kenner ALIEN arm for this task. No, I want to embrace the weird tentacular theme the previous owner had previously brought to bare on this customised figure. Mr. Tendril will become the recipient of one more, er, tendril. I do have a specific idea in mind and I’ve been hunting around for appropriate parts but success has proven to be a little more difficult than I anticipated. As such, I expect there will be a delay before the posting of the next installment of Mr. Tendril’s BIG Make Over.
Aside from that, I’m still packing boxes and shuttling my stuff between this house and my new residence. So, yes. It may take me a while before I can post Part 10; but rest assured, it’s definitely coming. We’ve gotten this far and we’re almost at the end of Mr. Tendril’s rehabilitative journey
Thank you for reading.
-Windebieste.
Part 1: Introduction.
Part 2: Assessment and Evaluation(1 of 2).
Part 3: Assessment and Evaluation (2 of 2).
Part 4: Disassembly and Cleaning.
Part 5: Loose Hip Joint Repair.
Part 6: Broken/Destroyed Hip Joint Repair (1 of 2).
Part 7: Broken/Destroyed Hip Joint Repair (2 of 2).
Part 8: Severed Arm Repair.
Part 9: Damaged Shoulder Repair.
Part 10: Improvised Replacement Arm.
Part 11: Final Assembly.