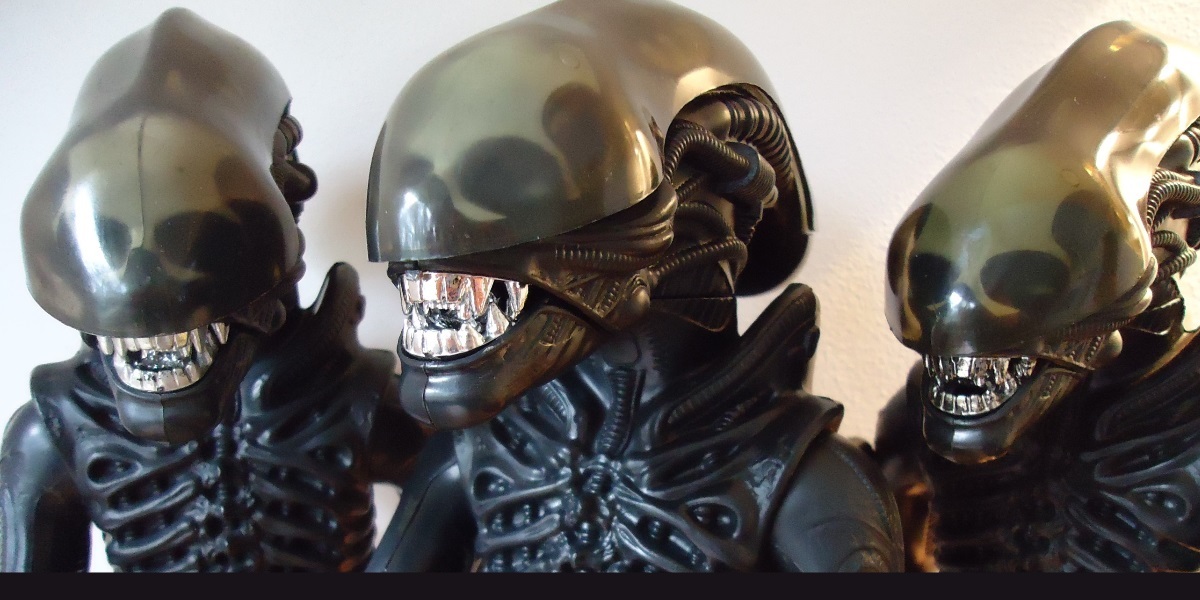
 Here we are on the closing page of Mr. Tendril’s BIG Make Over. Taking this old toy and lavishing as much care and attention on this previously customised and neglected action figure, raising his quality once again to a display worthy state has been a fun ride. We’re almost at the point where I can sign off working on this custom figure.
One of the great blessings of the 1979 Kenner ALIEN action figure is it’s ability to be disassembled. As such, most damage it may have sustained can be repaired one way or another. Sometimes it’s as easy as purchasing better quality replacement parts online; or as we have seen with Mr. Tendril here, some creativity and improvisation is required.
Mr. Tendril arrived with a set of original Kenner ALIEN screws holding him together. For the final assembly of the figure, I will be trading them out for screws salvaged from a wrecked 1979 Kenner Millennium Falcon play set. The Falcon play set screws are completely compatible with the figure and would have serve perfectly as replacements if any were lost.
I’m always looking for screws to reassemble other ALIEN figures and the silver Falcon screws will suit Mr. Tendril’s custom silver theme perfectly. I’m happy to swap out his original, darker screws for the Falcon ones. His old screws will be welcome elsewhere.

Mr. Tendril is now fully assembled and his customisation process complete. Among other tasks, he’s generally cleaner, has a left arm were one was absent and has had some silver touch ups applied to various body parts. I found a lot of the custom paint work on the figure was rubbed off and worn – from my constant handling of the figure during this exercise as much as anything else. I wanted to retain as much of the original artist’s work on the figure so I restricted the touch ups only to areas it was needed. I also painted some curved lines on the new arm and light brush strokes to its tendril to help tie the new and obviously anomalous limb to the figure a little more thematically.
Here’s some ‘Before & After’ comparison photos to close off this exercise. Outwardly, he may not look much different other than some cosmetic touch ups and a new improvised arm. Nonetheless, the figure has had a lot of work done to it. It no longer threatens to fall over and his arms are both secure and ready to pose.
A final gallery of Mr. Tendril images will be my final signing off on working on this unusual figure. I think he worked out superbly. The first 12 images are the original vendor photos posted on Ebay prior to my purchase of him. These are followed by how he looks now after he’s had his complete make over. Have fun with these. Mr. Tendril was a terrific figure to explore and rehabilitate.
Isn’t he fantastic? Yes. Yes he is!
As usual, it’s been a great pleasure to share this work with the world. I hope you have enjoyed seeing this derelict figure become rehabilitated. I hope it will help anyone who is looking for information on how to repair one of these old toys themselves. If you need some information on how to repair one of these figures, then please ask. I’m always happy to share, help and provide information I have.
I will do this again sometime; but first I will need a severely busted up, derelict Kenner ALIEN in really shitty condition to work on. As nice as well preserved figures are (that don’t need any of this kind of attention at all), working on the mangled wrecks and messed up figures like this one is a lot of fun.
Thank you for reading.

-Windebieste.
Part 1: Introduction.
Part 2: Assessment and Evaluation(1 of 2).
Part 3: Assessment and Evaluation (2 of 2).
Part 4: Disassembly and Cleaning.
Part 5: Loose Hip Joint Repair.
Part 6: Broken/Destroyed Hip Joint Repair (1 of 2).
Part 7: Broken/Destroyed Hip Joint Repair (2 of 2).
Part 8: Severed Arm Repair.
Part 9: Damaged Shoulder Repair.
Part 10: Improvised Replacement Arm.
Part 11: Final Assembly.


